OpenTX/EdgeTX radio initial setup procedure
Here, we will introduce OpenTX/EdgeTX radio initial setup procedure.
The same operation is possible with any radio that uses OpenTX / EdgeTX. However, keyswitch assignments / functions differ depending on model, and screen / menu configuration differs depending on installed version of OpenTX / EdgeTX.
このページを日本語で見る
Table of contents
- Preparation of radio
- Install EdgeTX
- Preparation of microSD card
- Power on the radio
- Basics of OpenTX/EdgeTX radio operation
- Date / time / battery voltage range setting
- Battery calibration
- Stick calibration
- RADIO SETUP setting items
- Back up MODELs and various settings (EEPROM) in radio
- OpenTX/EdgeTX firmware update
-
RadioMaster Zorro 2.4GHz 16CH Hall Sensor Gimbals

RadioMaster 2022/02 USD89.99
On-board firmware:EdgeTX(OpenTX)
Featuring an ergonomic design, large bright LCD screen in the perfect viewing position, travel adjustable HALL sensor gimbals, a nano size external RF module bay

 (US)
(UK)
How to use RadioMaster Zorro
(US)
(UK)
How to use RadioMaster Zorro
Preparation of radio
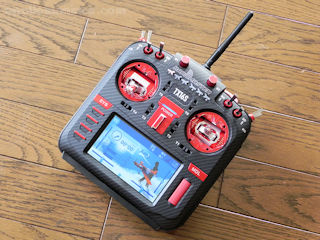
First, open packing box of the radio and set battery. Also, check basic operation method in the manual. This site explains the preparation procedure for the following radios. Please click the image.RadioMaster TX16S Mk2
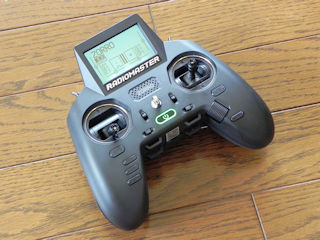
RadioMaster Zorro
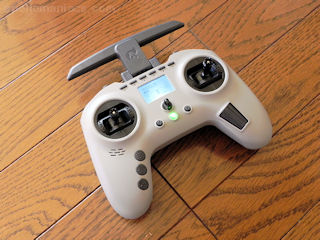
Jumper T-Pro
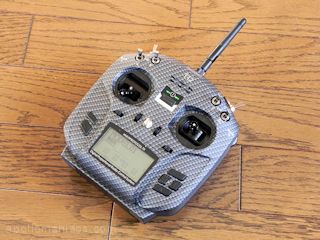
Jumper T12 Pro
Install EdgeTX
You can install EdgeTX on many radios that have OpenTX.
If you want to move from OpenTX to EdgeTX, please see below.
Preparation of microSD card
OpenTX/EdgeTX radio uses a microSD card as a data storage area (compatible with SDHC standard). Image / audio data, Lua scripts, backups of radio and drone settings (MODEL information) are saved. See below for how to prepare the microSD card.Power on the radio
 After inserting fully charged battery and microSD card with initial data written in the radio, turn on the power.
Press and hold power button for 2 seconds, then release your finger to turn on the power.
If microSD card is set correctly, a female voice will say "Welcome to Open TX", "Welcome to EdgeTX".
After inserting fully charged battery and microSD card with initial data written in the radio, turn on the power.
Press and hold power button for 2 seconds, then release your finger to turn on the power.
If microSD card is set correctly, a female voice will say "Welcome to Open TX", "Welcome to EdgeTX".
You can change Splash Screen of the radio to your liking.
How to set or change Splash Screen / Background Image / Model Image
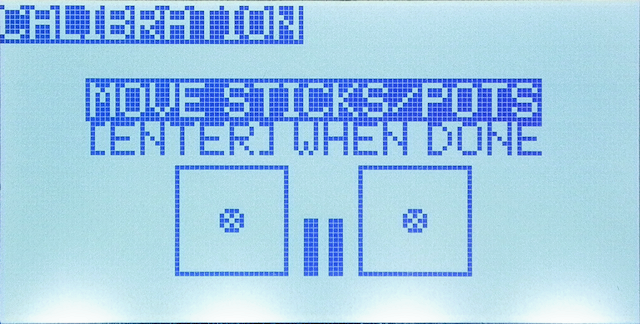
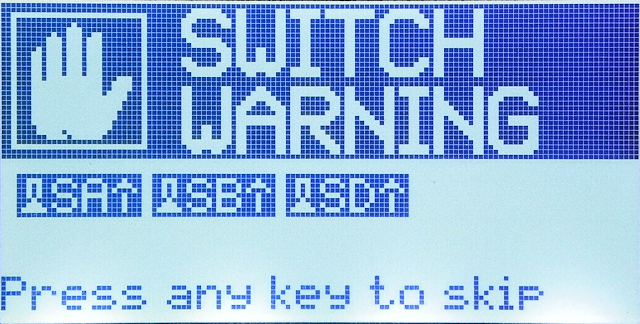 If either switch or stick is not in initial position, you will see a warning screen like this.
Follow the on-screen instructions to set switch or stick to initial position.
Alternatively, press any key to ignore the warning and proceed to the next screen.
If either switch or stick is not in initial position, you will see a warning screen like this.
Follow the on-screen instructions to set switch or stick to initial position.
Alternatively, press any key to ignore the warning and proceed to the next screen.
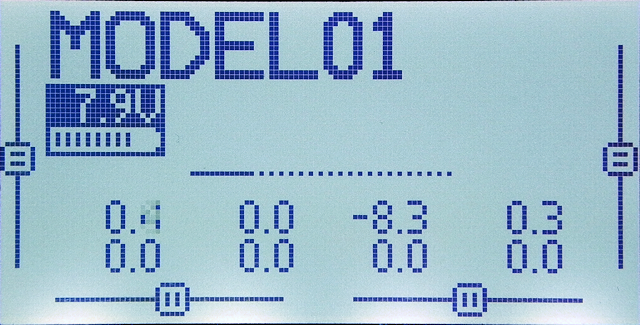 If you see a screen like this, startup is successful.
Basics of OpenTX/EdgeTX radio operation
This site explains the basics of how to operate on the following pages. If you are new to OpenTX/EdgeTX radio, please refer to it first.Date / time / battery voltage range setting
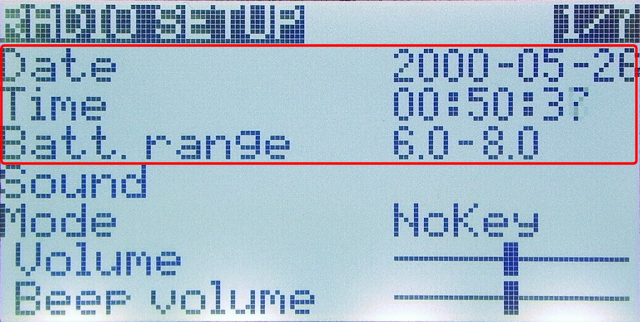 First of all, let's set today's Date, Time, maximum voltage and minimum voltage (Batt. Range) of battery you use in radio.
If you set maximum and minimum voltage of battery you use, battery level graph on main screen will be displayed correctly.
First of all, let's set today's Date, Time, maximum voltage and minimum voltage (Batt. Range) of battery you use in radio.
If you set maximum and minimum voltage of battery you use, battery level graph on main screen will be displayed correctly.
For example, for 2s LiPo battery or two 18650 / 18350 type batteries, 6.6-8.4 is fine.
Enter "RADIO(SYSTEM) Menu", open "RADIO SETUP" screen, and move cursor to "Date", "Time", and "Batt.range" fields. Then press [ENTER] to enter edit mode of the selected number. If you press cursor keys, etc., the value will change. Press [ENTER] again to confirm the value and exit the edit mode.
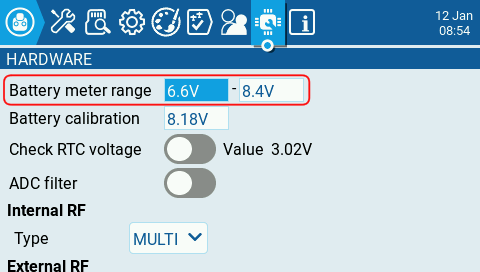 For color display models, the maximum and minimum battery voltage setting fields are located on "HARDWARE" screen of "RADIO(SYSTEM) menu."
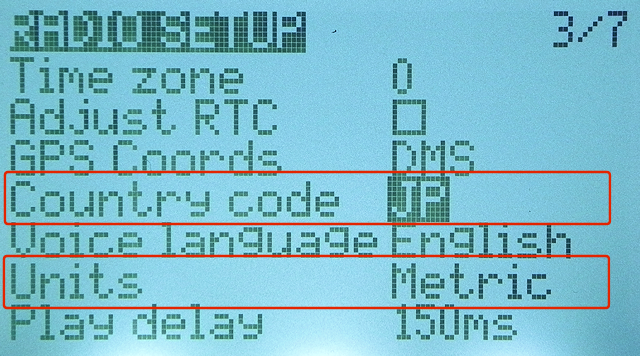 Then scroll the screen and select "Country code" field.
Select the region where you want to use the radio from US, JP (Japan), EU (Europe).
Then scroll the screen and select "Country code" field.
Select the region where you want to use the radio from US, JP (Japan), EU (Europe).
Also, change "Units" field as needed. Select the unit to use for telemetry display from "Metric" or "Imperial".
Battery calibration
 Calibrate battery so that radio can correctly read voltage of set battery.
First, in order to minimize the power consumption of radio, turn off communication unit built into radio.
Enter "MODEL menu".
Calibrate battery so that radio can correctly read voltage of set battery.
First, in order to minimize the power consumption of radio, turn off communication unit built into radio.
Enter "MODEL menu".
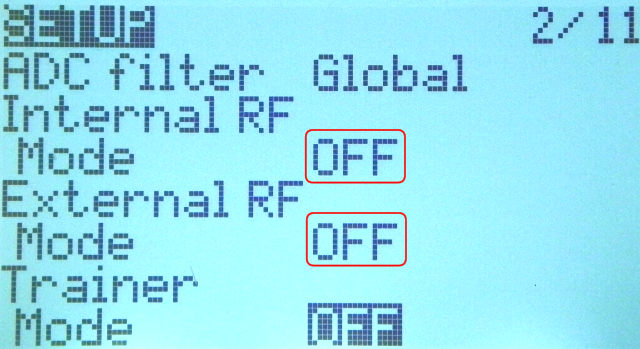 Then open "SETUP" screen of the selected MODEL and select "Mode" field of "Internal RF".
Press [ENTER] to enter edit mode and turn it off with the cursor keys, etc.,.
Press [ENTER] to confirm the value and exit edit mode.
Then open "SETUP" screen of the selected MODEL and select "Mode" field of "Internal RF".
Press [ENTER] to enter edit mode and turn it off with the cursor keys, etc.,.
Press [ENTER] to confirm the value and exit edit mode.
If External RF is not turned off, turn it off as well. Then turn off the power of radio and remove battery.
MODEL SETUP setting items explanation
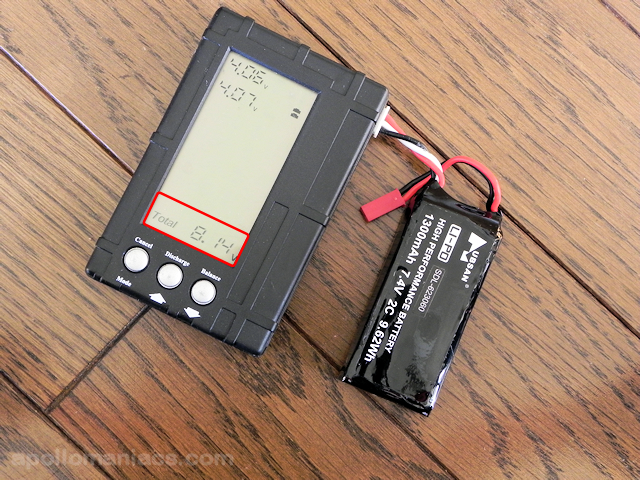 Check current battery voltage using a measuring device such as a tester.
If you have a lipo battery checker & balancer (Amazon.com) like the one shown in this picture, you can use it to read voltage.
Buy lipo battery checker & balancer (Amazon.com)
Buy lipo battery checker & balancer (Amazon.co.uk)
Drone Battery Knowledge / How to long-lasting and reviving
 Return battery whose voltage has been checked to radio and start it.
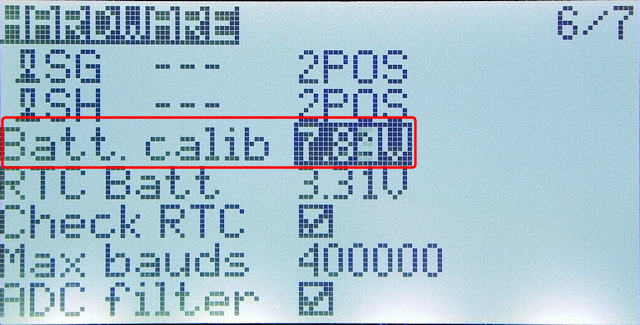
Enter "RADIO(SYSTEM) menu" and open "HARDWARE" screen then select "Batt. Calib" field.
Press [ENTER] to enter edit mode and change the value with cursor keys, etc.,.
Make sure it is closest to current battery voltage you checked first.
Press [ENTER] to confirm the value and exit edit mode.
Return battery whose voltage has been checked to radio and start it.
Enter "RADIO(SYSTEM) menu" and open "HARDWARE" screen then select "Batt. Calib" field.
Press [ENTER] to enter edit mode and change the value with cursor keys, etc.,.
Make sure it is closest to current battery voltage you checked first.
Press [ENTER] to confirm the value and exit edit mode.
Go back to main screen and check battery voltage display has been corrected. Also, if necessary, restore settings of Internal RF and External RF that were once turned off.
Stick calibration
 Before using radio, or if actual operation and output of the radio deviate from each other, calibrate sticks and dials (Pot: Potentiometer) so that they can be read correctly.
See below for details.
Before using radio, or if actual operation and output of the radio deviate from each other, calibrate sticks and dials (Pot: Potentiometer) so that they can be read correctly.
See below for details.
RADIO SETUP setting items
At this point, minimum initial settings for OpenTX/EdgeTX radio have been completed. Before you start using it, let's take a look at each item on the "RADIO SETUP" screen. For details on each item, see RADIO SETUP setting items explanation page.Back up MODELs and various settings (EEPROM) in radio
Radio that uses OpenTX/EdgeTX has a "Flash memory" that stores firmware and boot loader, and an "EEPROM (Electrically Erasable Programmable Read-Only Memory) that stores model information and various setting information inside. Contents of the EEPROM can be backed up to built-in microSD card in RADIO(SYSTEM) menu. And you can also back up each "MODEL" set in radio individually to built-in microSD card.In EdgeTX, it is not possible to back up EEPROM with radio. Use EdgeTX Companion .
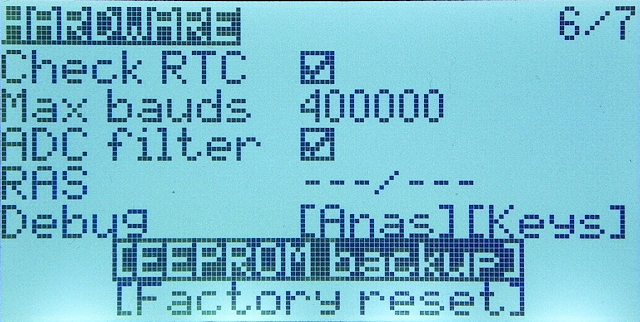 Enter "RADIO(SYSTEM) menu", open "HARDWARE" screen, and scroll to the bottom of the screen to see this screen.
Select [EEPROM backup] and press [ENTER] key ...
Enter "RADIO(SYSTEM) menu", open "HARDWARE" screen, and scroll to the bottom of the screen to see this screen.
Select [EEPROM backup] and press [ENTER] key ...
 Then it will be backed up instantly.
 Open "SD-HC CARD" or "SD CARD" screen and select [EEPROM] folder, and you will see backup file like this.
The backup file is a small file of several tens of kilobytes in .bin format.
All MODEL information and various setting information set in the radio are saved in this file.
Open "SD-HC CARD" or "SD CARD" screen and select [EEPROM] folder, and you will see backup file like this.
The backup file is a small file of several tens of kilobytes in .bin format.
All MODEL information and various setting information set in the radio are saved in this file.
The collected backup can be written back to radio using OpenTX Companion app on your PC. Of course, you can also back up EEPROM with OpenTX Companion.
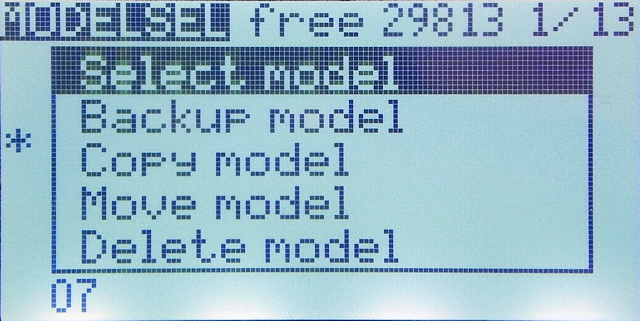 You can also save each "MODEL" individually.
Enter "MODEL menu" and press and hold [ENTER] key on the model list screen to display a menu like this.
Select "Backup model" to back up the model to "MODEL" folder on microSD card.
You can also save each "MODEL" individually.
Enter "MODEL menu" and press and hold [ENTER] key on the model list screen to display a menu like this.
Select "Backup model" to back up the model to "MODEL" folder on microSD card.
OpenTX/EdgeTX firmware update
OpenTX/EdgeTX radio can update firmware, multi-protocol module (transmitter), and boot loader. Newest firmware is released every few months, and updates may make new protocols available.Also, if transmitter firmware is factory default, it may not be possible to bind to aircraft released after that. If you cannot bind, you may be able to solve it by updating to the latest version.
See below for detailed instructions on updating the firmware.
To know more about How to Fly Hobby Drone
To know more about iPhone